

Resources
Assembly Guides
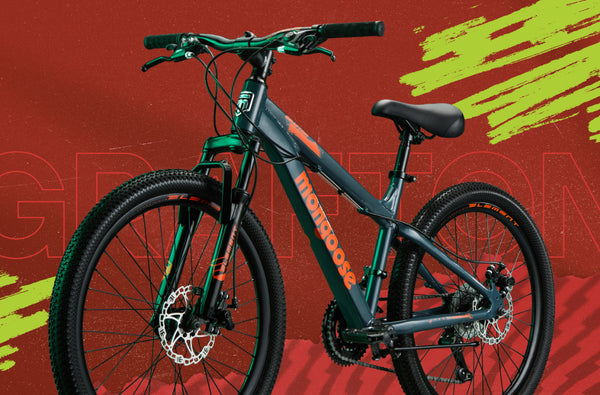
Assembling your new Mongoose bike doesn’t have to be difficult. With Mongoose's easy step-by-step assembly guides, you will be riding in no time.
30% OFF BIKES ends in:
Assembling your new Mongoose bike doesn’t have to be difficult. With Mongoose's easy step-by-step assembly guides, you will be riding in no time.
From the makers of: