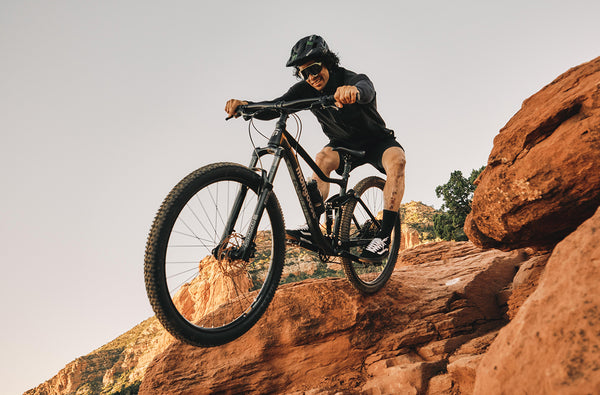
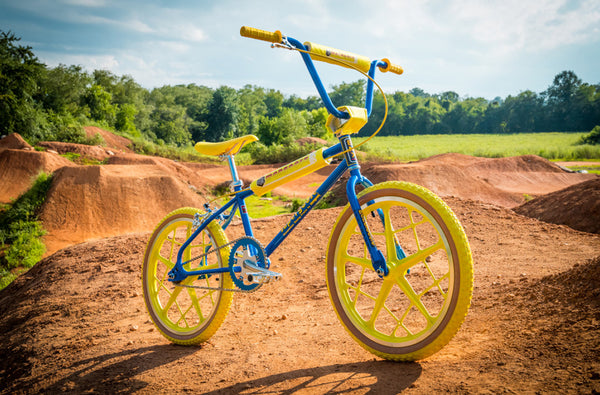
Whether it’s on the street or the skatepark, your new Mongoose Scan freestyle BMX bike is here to help you push your limits and have a blast!
We’ll show you how to assemble your ride with the quick start guide below. Be sure to read it along with your Mongoose BMX bike owner’s manual. Both contain important safety information.
You’ll need the following tools:
- Scissors
- Lithium-based grease
- 5 mm hex key
- 6 mm hex key
- Phillips screwdriver
- 15 mm wrench
- Bike pump
Let’s get started!
Step1
Unbox the Bicycle

Take all bike parts out of the box and carefully remove packing materials.
Step 2
Install the Seatpost

Apply grease to the inside of the seat tube. Use a 5 mm hex key to open the seatpost clamp, then slide the seatpost into the frame. Ensure the seatpost is inserted past the minimum insertion line marked on the post. Align the nose of the seat with the frame of the bicycle. Tighten the seatpost clamp.
Step 3
Install the Handlebar

Make sure the stem faces forward. Use a 6 mm hex key to loosen the bolts on the stem and remove the faceplate. Place the handlebar in the center of the stem and replace the faceplate. Partially tighten the bolts; you will fully tighten them in a later step.
Step 4
Install the Front Wheel

Remove the plastic spacer from the dropouts. Turn the bike upside down so that it rests on the seat and the handles.
Loosen the axle nuts on the front wheel and move them to the ends of the axle. Make sure the tire tread pattern faces the same direction as the rear wheel and then insert the front wheel axle into the dropouts. Insert washer tabs into the hole on each dropout and then fully tighten the axle nuts with the 15 mm wrench.
Make sure the front wheel is centered in the fork. Hand-thread the axle pegs onto each end of the axles and then fully tighten with the Phillips screwdriver inserted through the holes in the peg.
Step 5
Adjust and Tighten the Handlebar

Turn the bike right side up so that the tires are resting on the ground. Align the handlebar at the same angle as the fork, and then fully tighten the bolts on the faceplate in an alternating X-pattern. Align the stem with the front wheel and tighten the bolts on the side of the stem.
Step 6
Attach the Pedals

Pedals are side-specific; match them to the corresponding crank arm using the stickers. Apply a small amount of grease to the pedal threads. Hand-thread and then tighten the pedals toward the front of the bike with the 15 mm wrench.
Step 7
Inflate the Tires

Inflate the tires to the recommended PSI printed on the side of the tire. Never exceed the recommended PSI.
Step 8
Do a Quick Safety Check

Push and pull on the handlebars and seat to make sure all parts are secure. Test the brake to make sure it works. Finally, be sure to read your owner’s manual.
That’s it! Strap on your helmet, and you’re ready to ride.